
I am late in my post on Christmas tree decoration. Possibly, this post will reach you in 2018 Christmas time, I suppose. In all case, since this DIY project has already been done let me share with you the step by step tutorial.
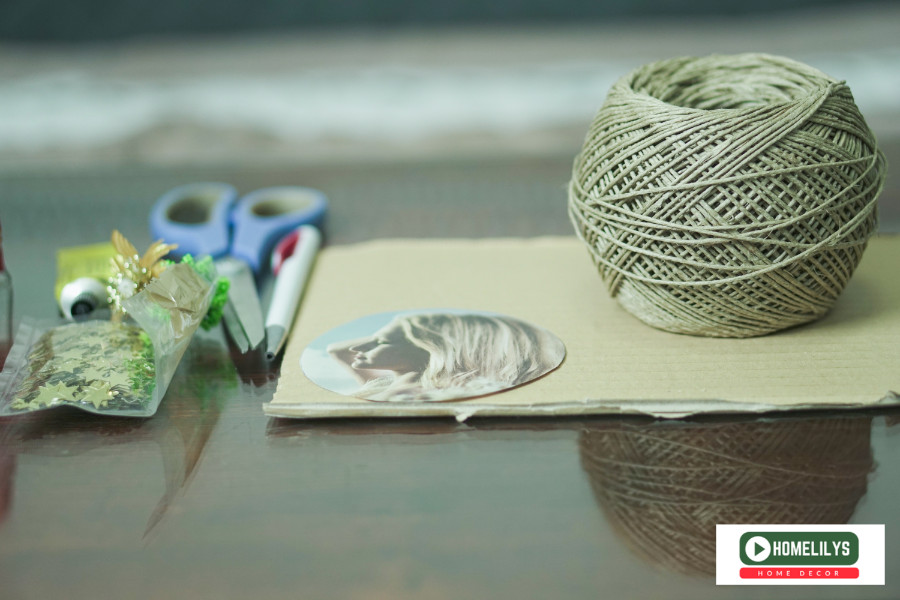
For this DIY project you will need:
- Cardboard;
- Scissors;
- Hot glue gun
- Picture;
- Some ornaments (branches and flowers)
- Golden stars;
- Some thread;
- Paper glue

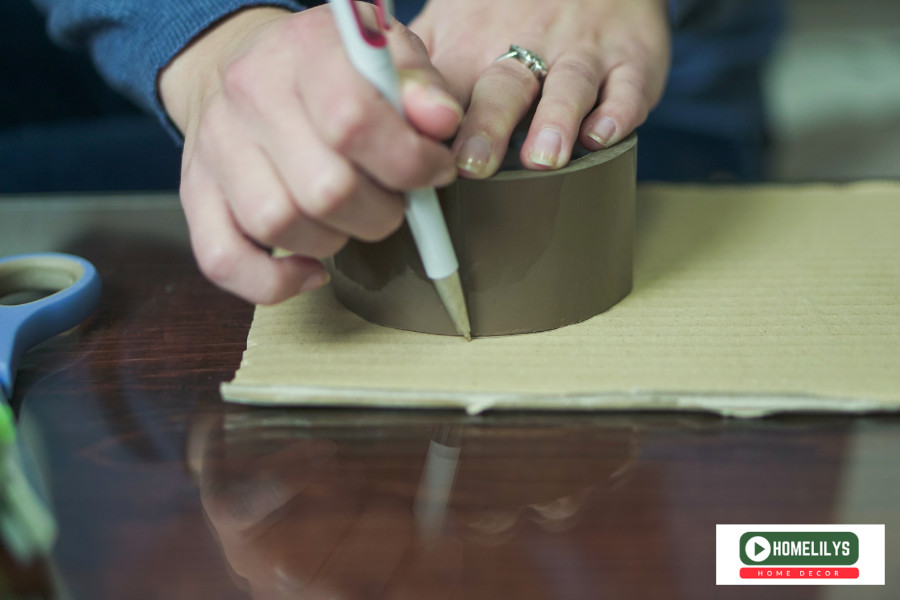
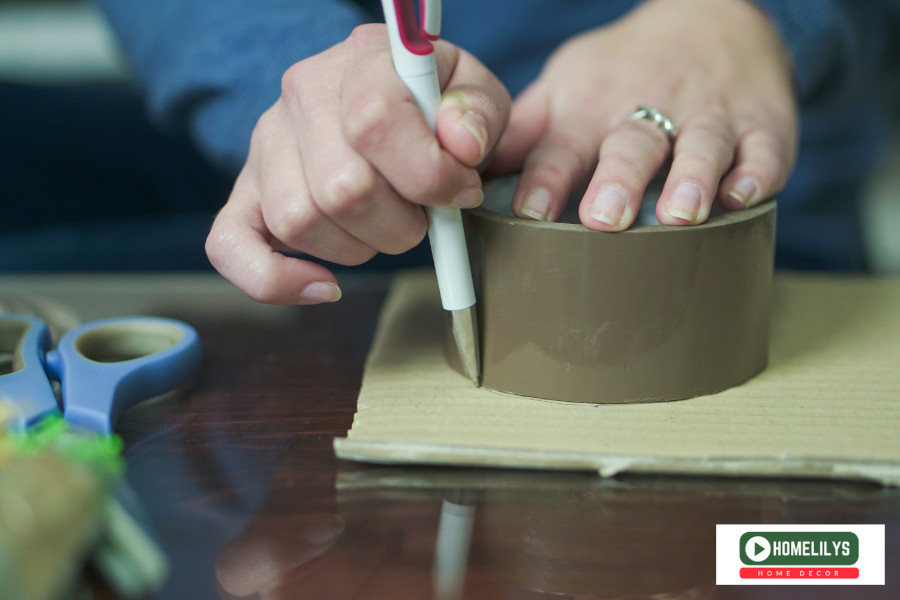
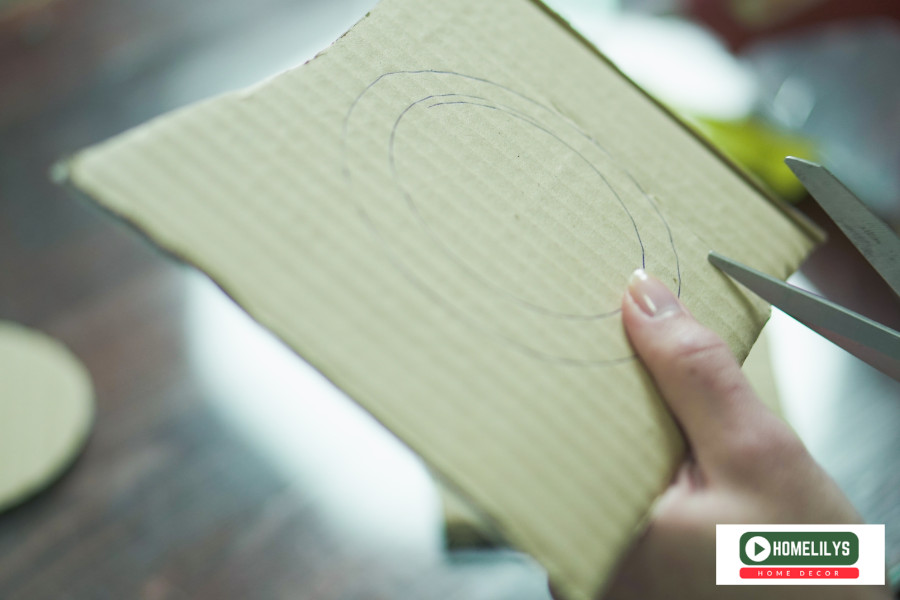
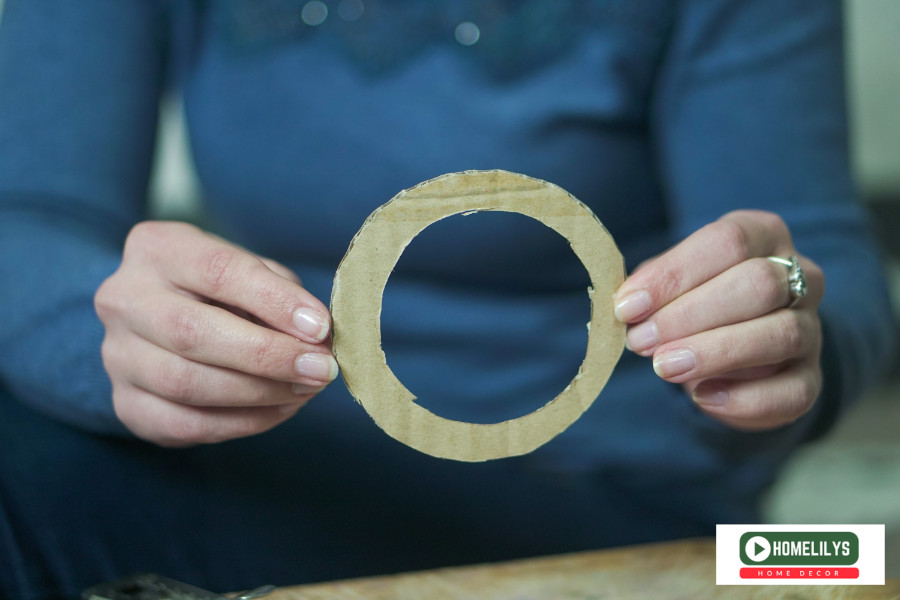
Step 1
Draw some circle, not too big, not to small. Mine was with 10cm diagonal. You are going to draw the circle on the cardboard using some pen. If you are not satisfy with the size you can always make some bigger or smaller one. Then you have to draw two other circles on the cardboard. One has to be with the same size as the first one and the other has to be smaller from the first one, The second circle draw it inside the first one.
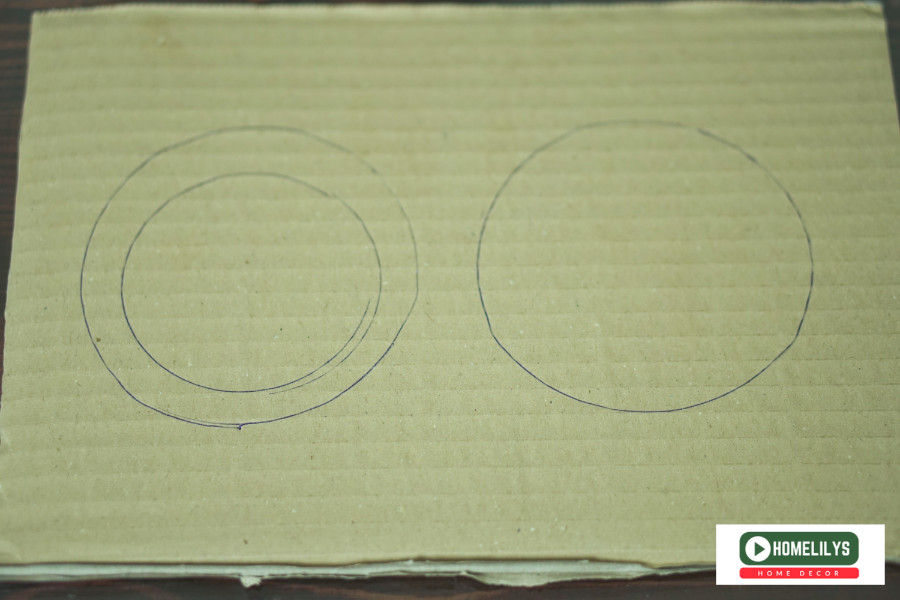
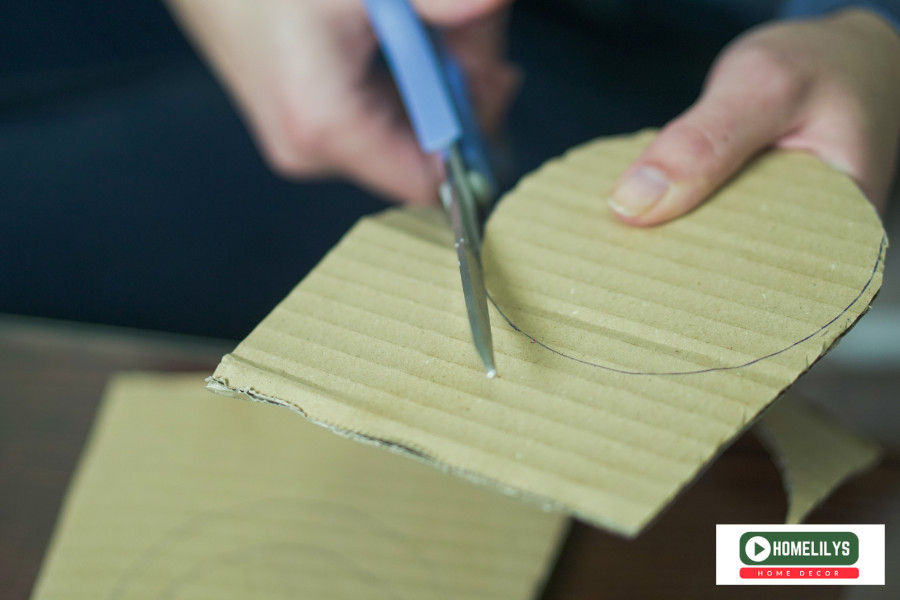
Step 2
Cut all the circles you’ve already drawn. You have to get two circles one whole and the other one with missing peace from the inside.
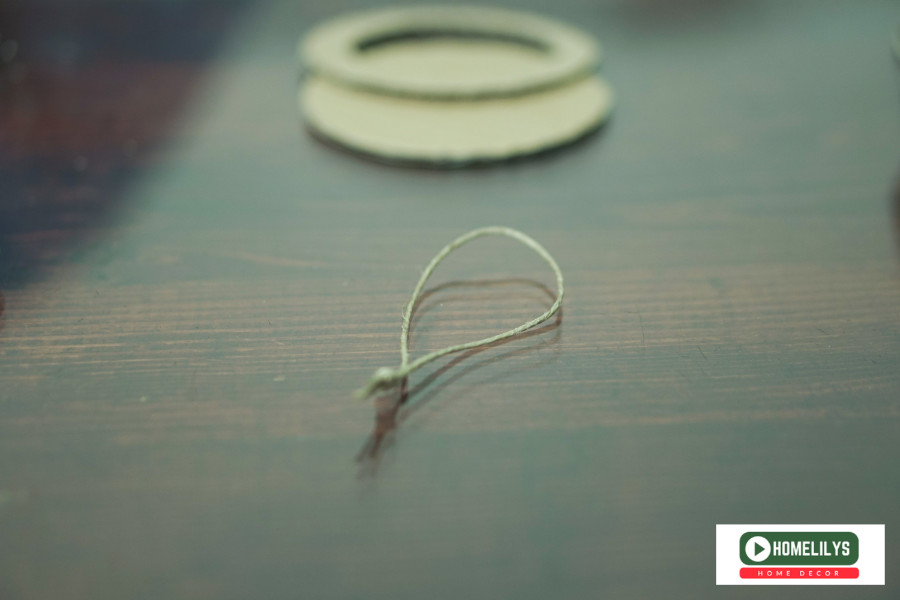
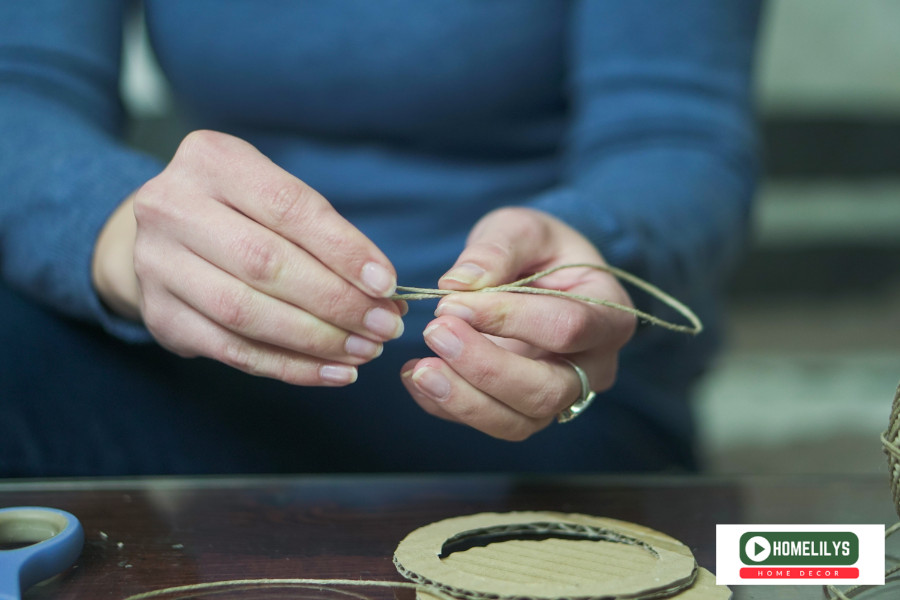
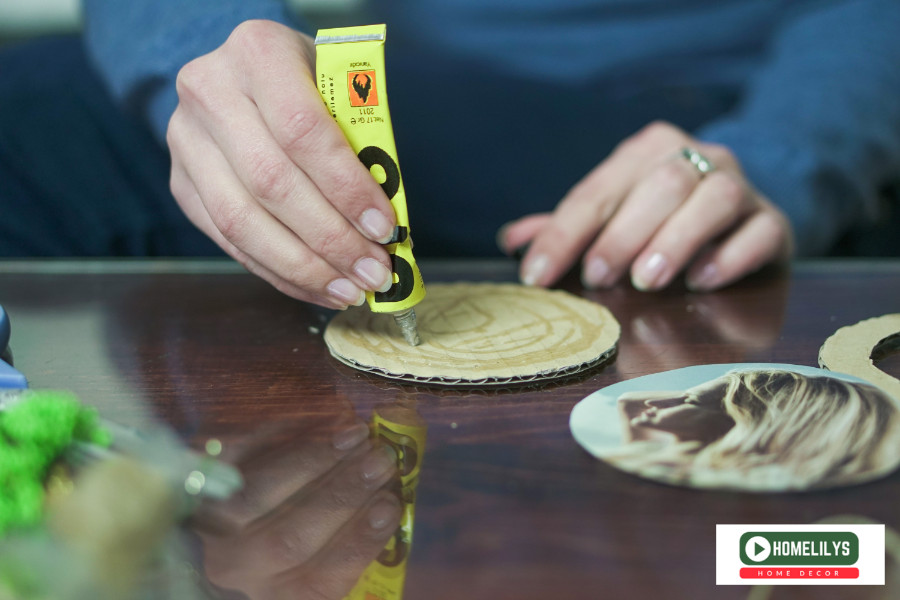
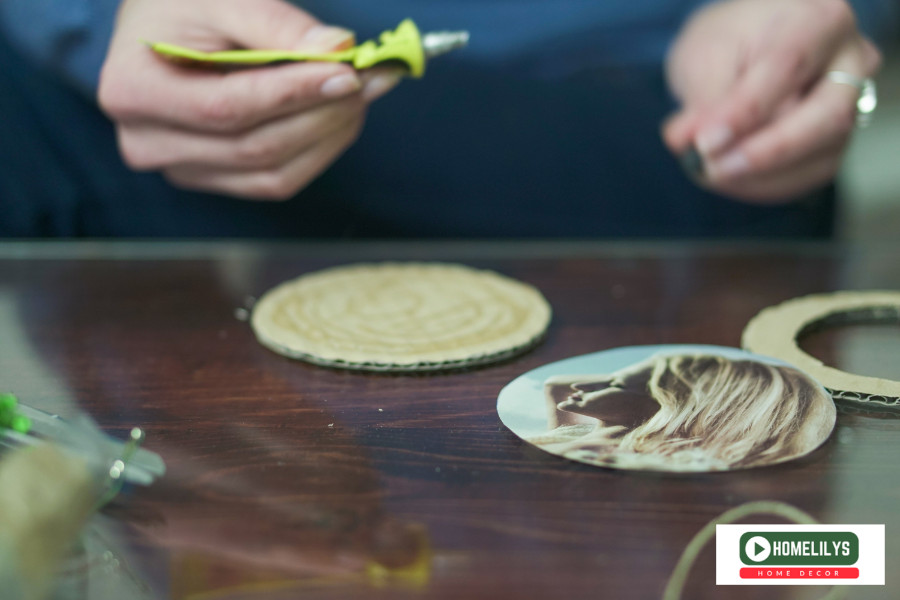
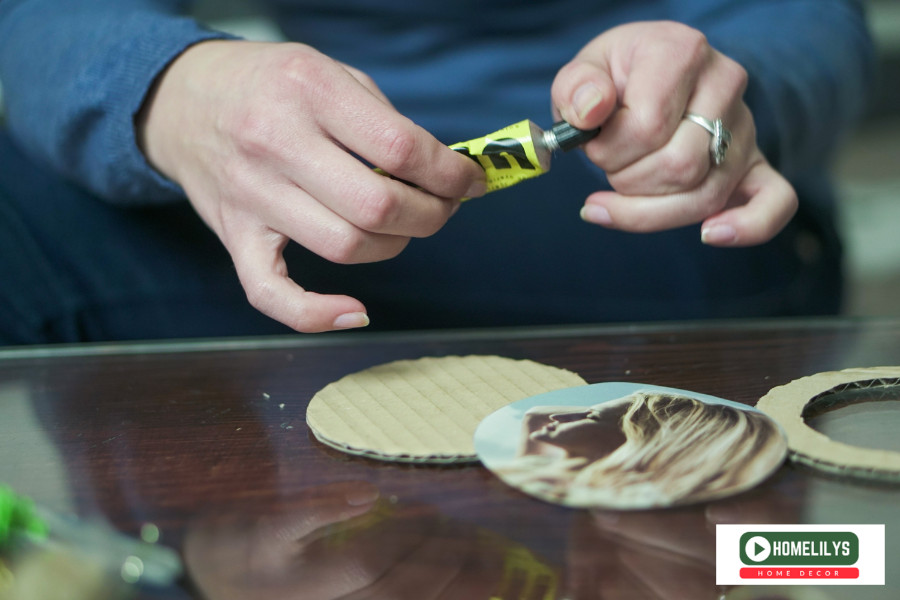
Step 3
Take your picture and glue it one the first whole circle or cardboard. Then take the other peace, measure where do you want to put it and glue it on the first one. Meanwhile you could make one knot with the thread so you can hang it and put it between the two pieces of cardboard.
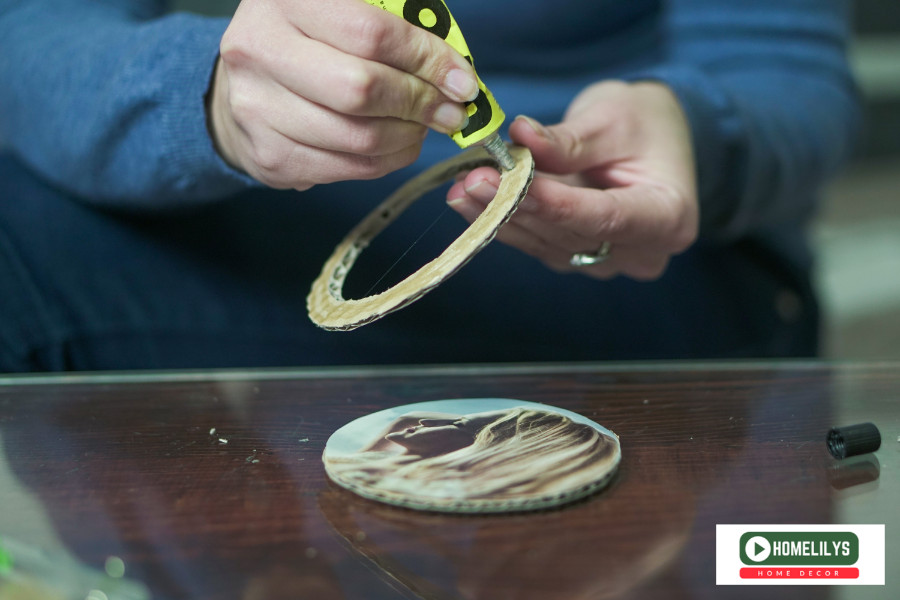
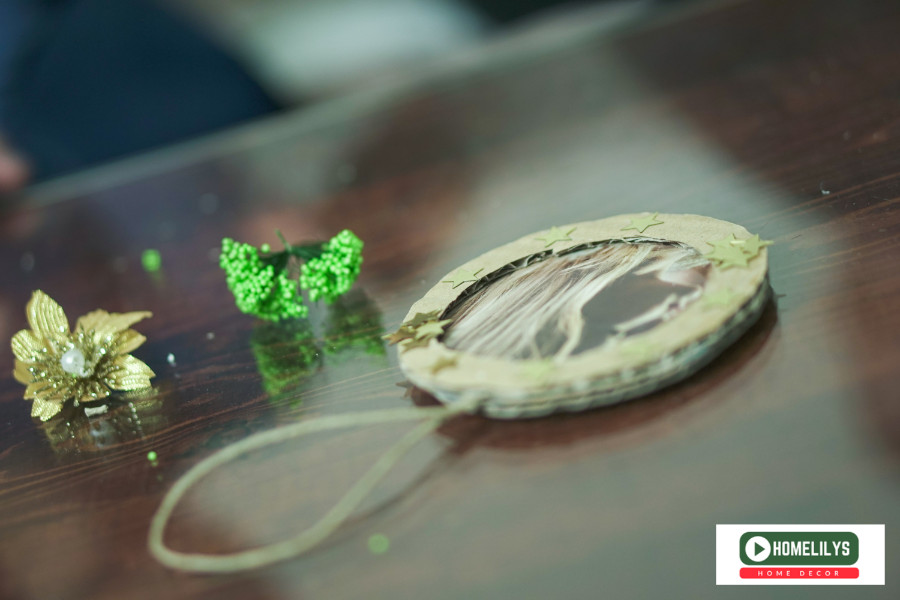
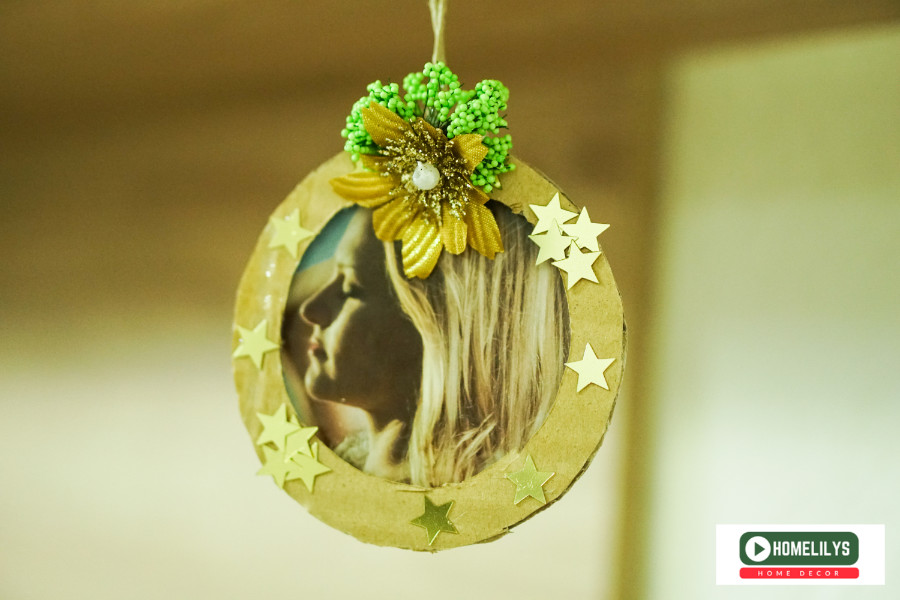
Step 4
You only have the decoration left. I’ve chosen to use something like golden stars gluing them on the cardboard. You can always play with the colors and put some thinner cardboard over the previous one. Under the knot you’ve already made you can glue some ornaments like little branches, some boy, tc.

Conclusion
People say, it’s better to be late than not turn up at all. This is the reason I post this DIY project now, although it is kind of late for the Christmas 2017 season. In all case, if you like all these DIY ideas, remember to check out: floating tea cup for mother, heart shape light bulb, creative ideas for towel box.
Resources:
•https://www.facebook.com/MarinaHandmades/(Creative Director)
•https://www.facebook.com/homelilysDecor/
2 Comments
Leave a Reply