
14 May 2017 is going to be the mother’s day for many country around the world. Many people send flowers or cards to their mother on this special days while other make effort to bring them out as a family gathering. For me, I’d like to always make some special craft using a DIY concept. During 2017, mother’s day let me show you the step by step tutorial on how to make this special floral floating cup.
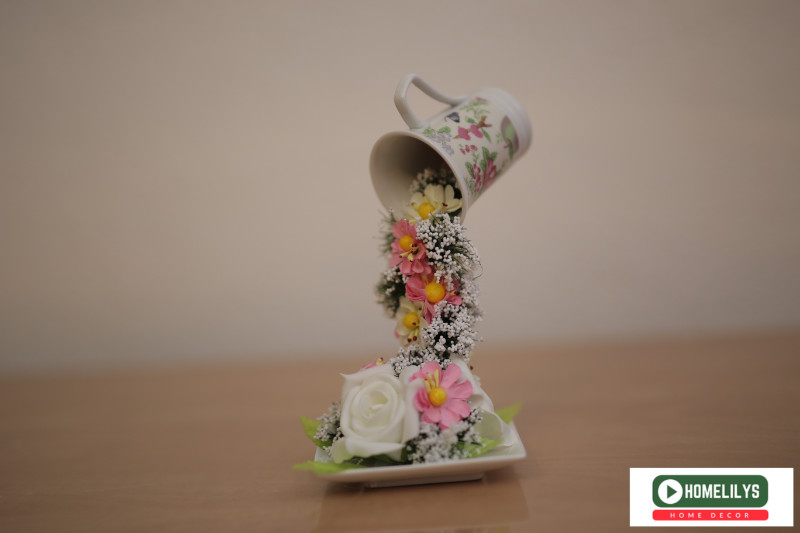
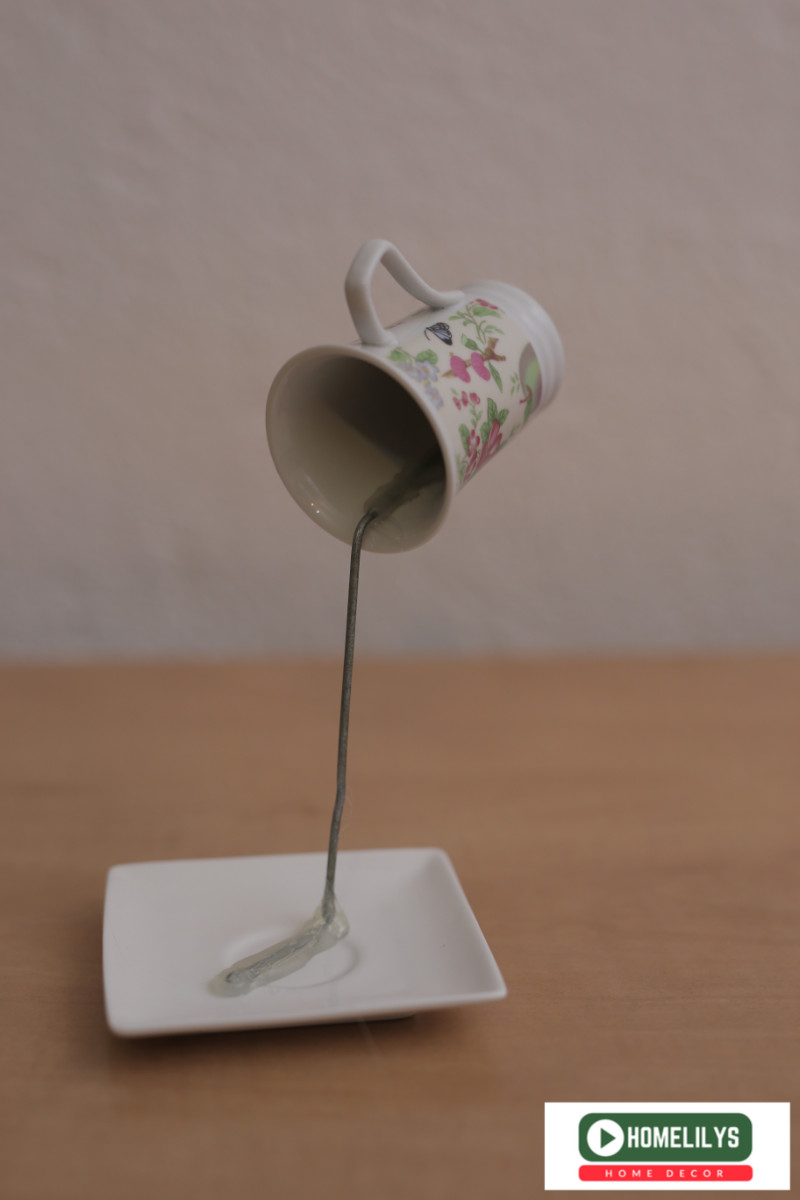
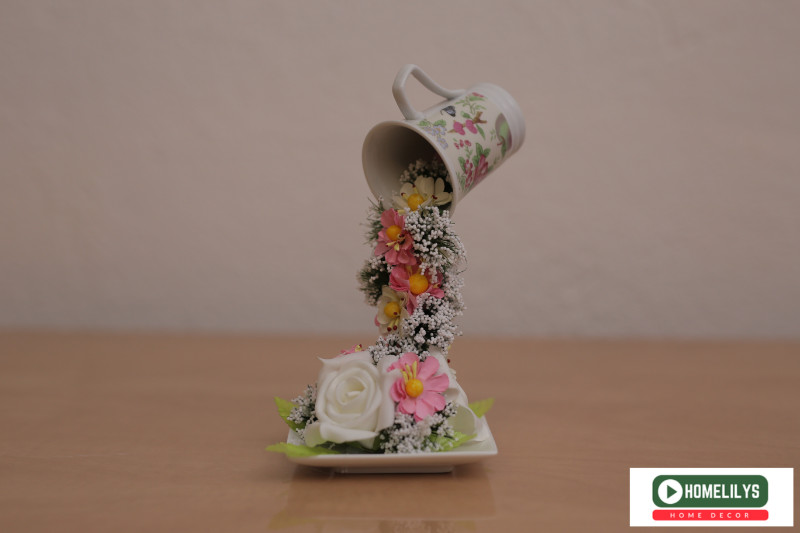
At the end of this DIY tutorial, you will achieve something like this:
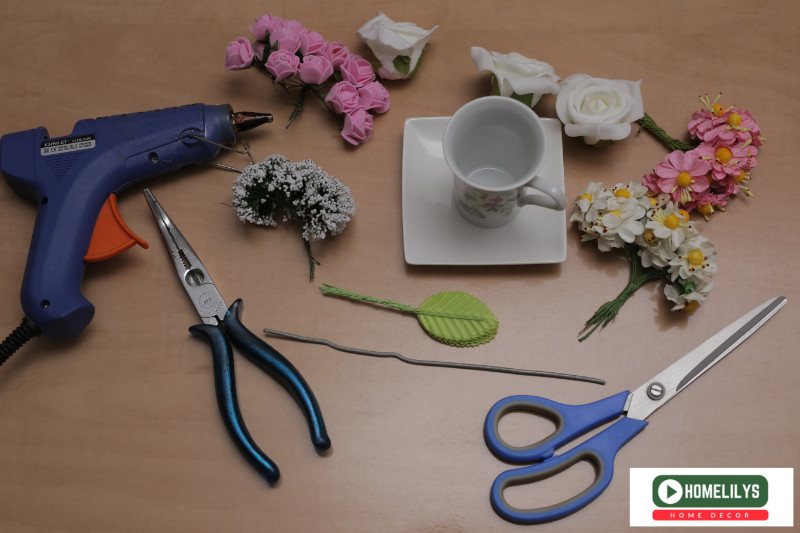
For this DIY project you will need
- One pair of scissors
- One plier
- different types and sizes of flowers
- piece of strong but flexible wire
- hot glue gun
- cup and saucer
- some branches and leafs
See picture below for the actual items you need to make this beautiful crafting of flying saucer and cup with flower.
DIY steps to make this floating cup and saucer
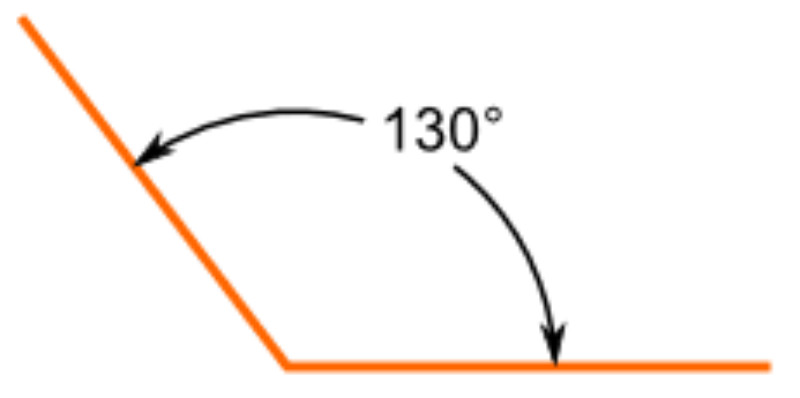
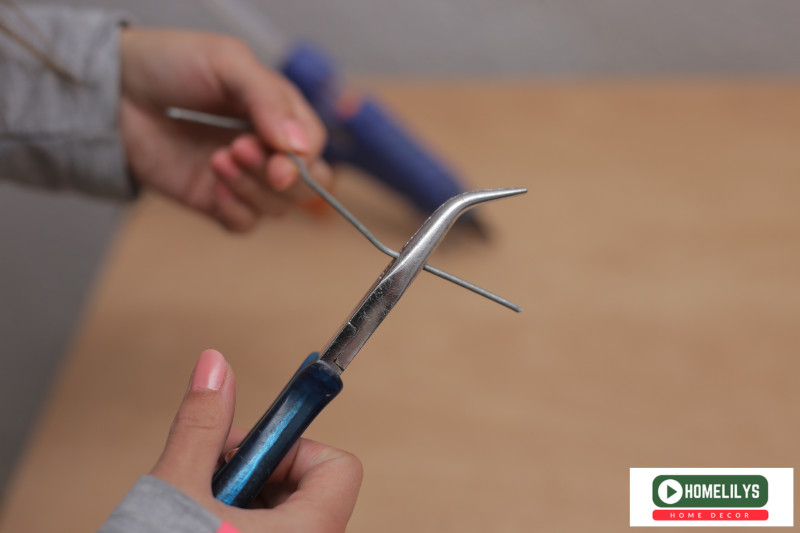
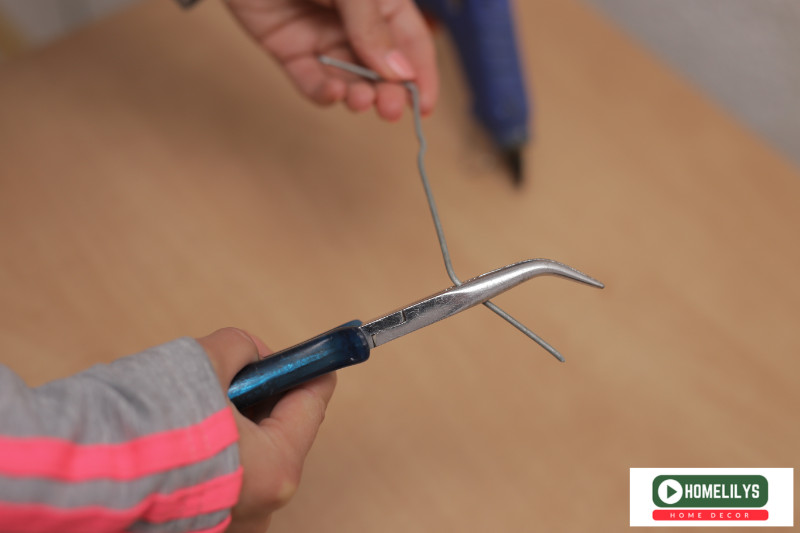
Step 1:
Use the pliers to fold the strong yet flexible wire. This wire will serve as a column to give a floating sensation. You will need to fold the two ends of the wire. The first end needs to form angle of 900, that part will be standing on the saucer. The other end will be folded creating an angle of around 1300 and that part of the wire will be placed inside the cup.
Step 2:
Now, take the wire you have shaped in step 1 and glue it inside the cup with the side of the 1300 angle. Put some hot glue, place the wire, let the glue cool down and put another bigger layer of glue again. Repeat this procedure until you are satisfy with the look and the strength of the wire.
Repeat the same procedure with the other end of the wire and the saucer. Be patient, add a few layers of glue holding the wire at one place until the glue cools down. You should end up with something like this.
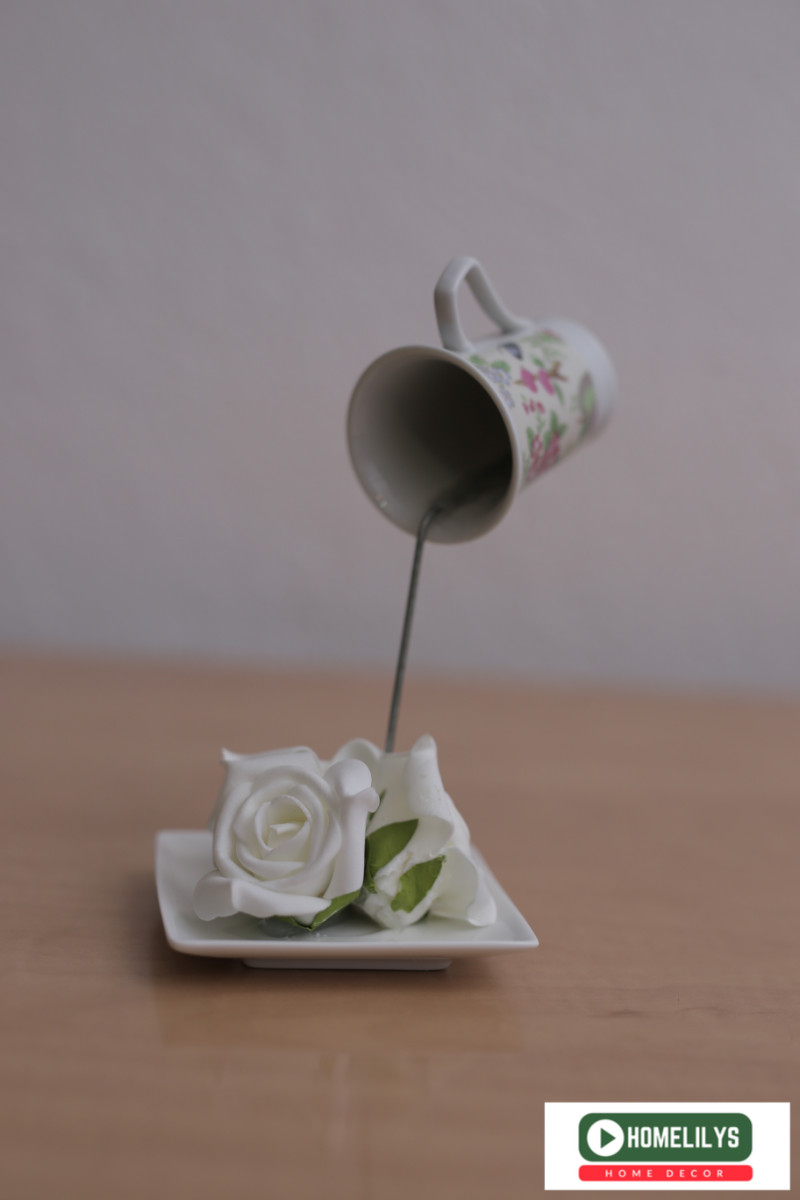
Step 3:
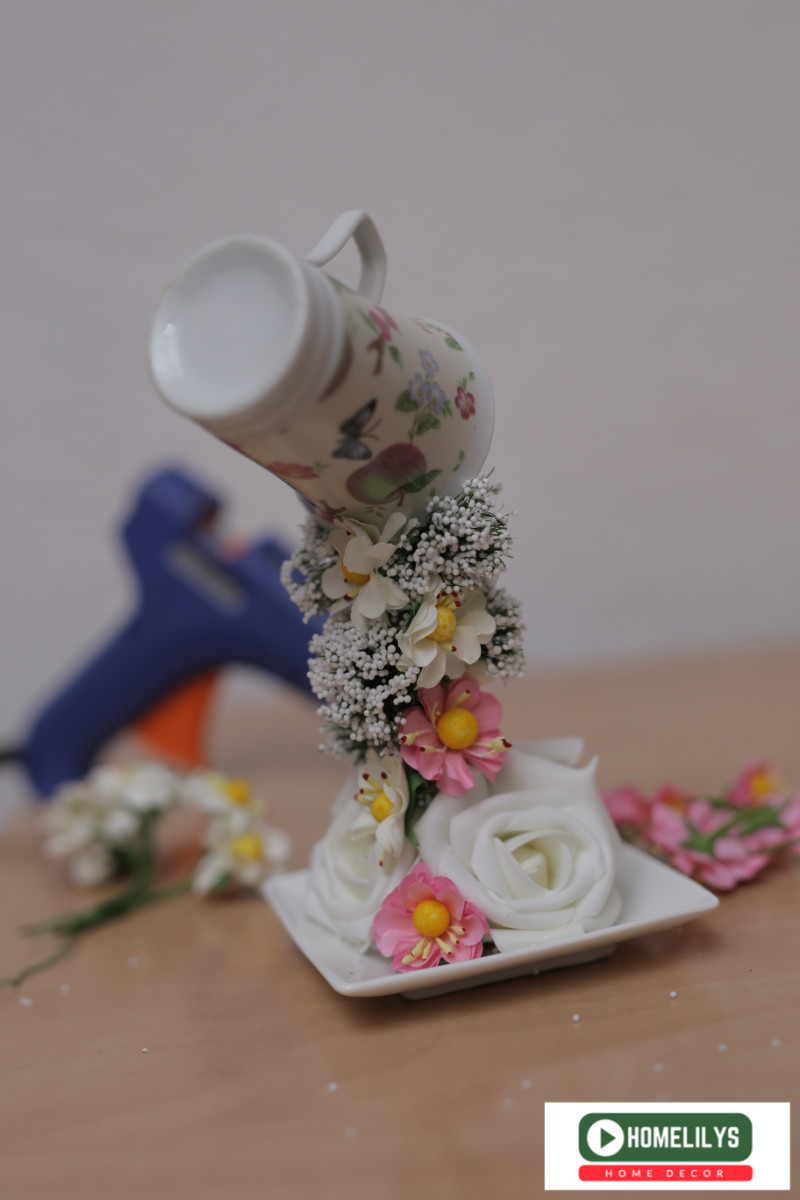
The next step is to decorate the naked floating cup and saucer with flowers. Take some of the bigger flowers and glue them on the bottom of the saucer. I’ve used only three bigger flowers. Depending on the size of your saucer, you may want to use different size of the flower.
Take some from the smaller flowers and start gluing from the inside of the cup. Mix the colors and the branches to cover the wire.
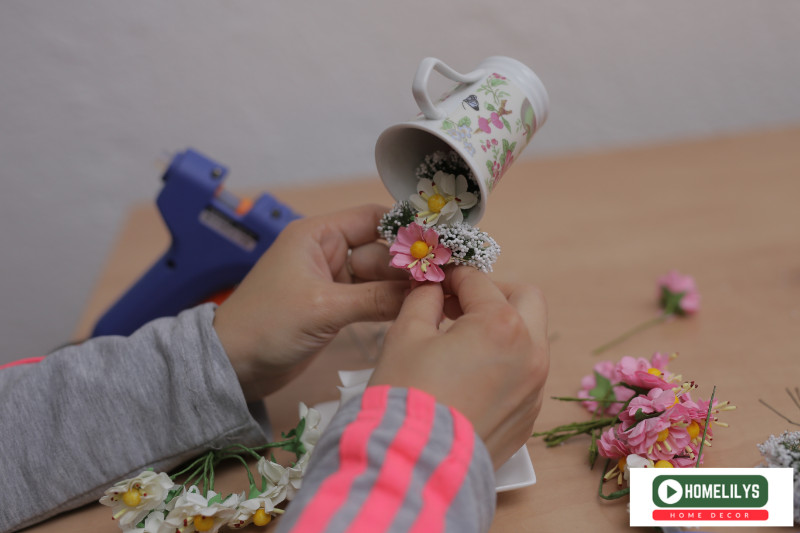
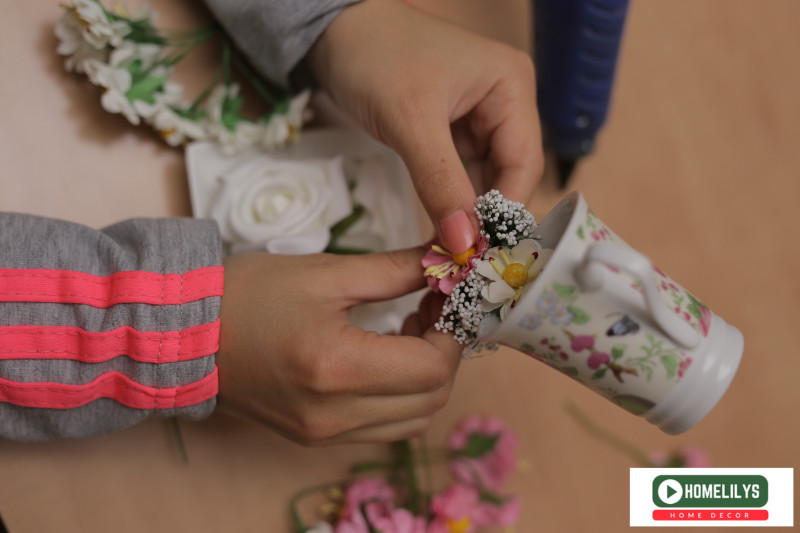
Make sure that you cover the wire from the both sides, front and back.
Step 4: Final touch
Then you can add some leafs and a few more flowers until you are satisfy with the look.
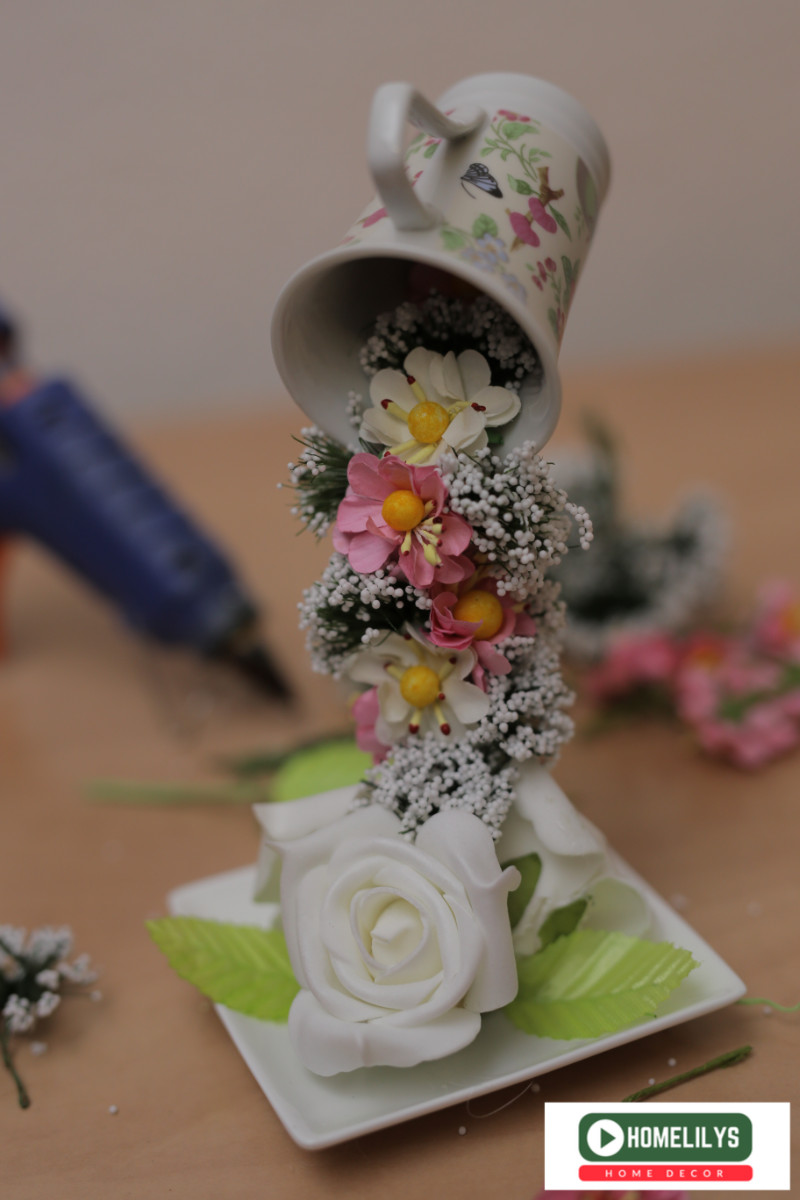
And voila, you have a floating floral cup with saucer.
Conclusion
You can always use different sizes and forms of cups and different colors of flowers. Use your imagination and guarantee to impress your mom and loved one with your creativity. Remember this DIY crafting project takes less than 2 hours:

Resources:
•https://www.facebook.com/MarinaHandmades/(Creative Director)
•https://www.facebook.com/homelilysDecor/
Other related DIY projects:
Did you like this DIY Project?
Share it on any of the social media channels below to give us your vote.
Your feedback helps us improve
One Comment
Leave a Reply